
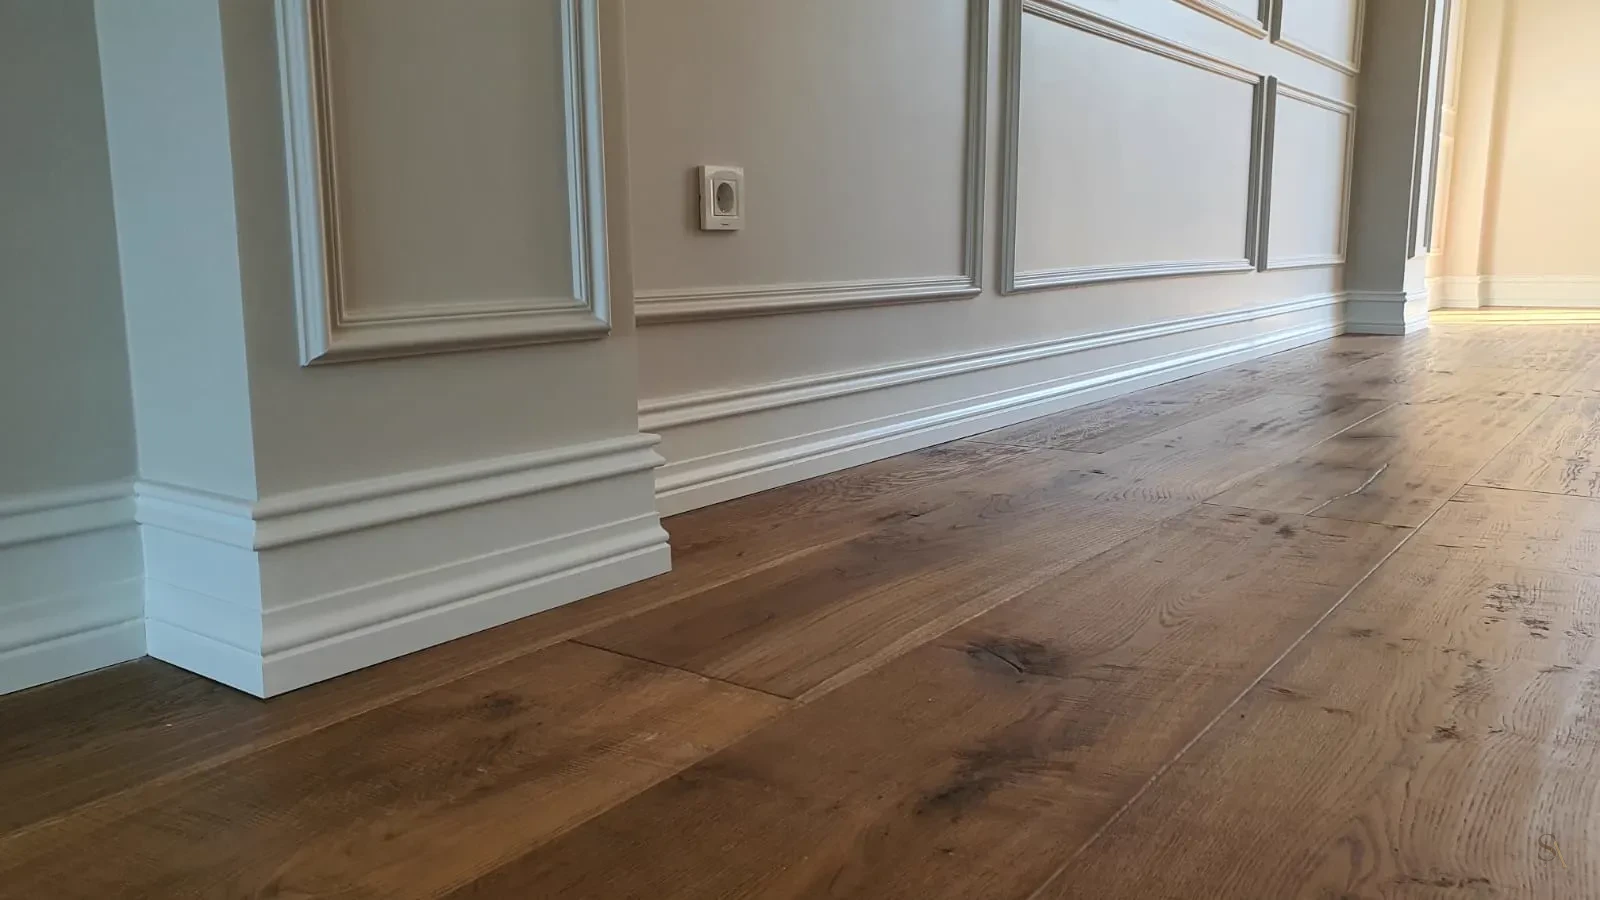
Installing skirting boards takes as much care as manufacturing them. An inaccurate cut or an open joint can spoil the appearance of even a well-made profile.
The process is straightforward in principle, but a neat result depends on following the right sequence and paying attention to a few details. This guide explains the steps for fitting either lacquered skirting boards or natural wood-veneer skirting boards.
Preparation Before Installation
Accurate measurements and the right tools make a good start:
- Measure each wall: Take the length of every wall separately. Allowing a few extra centimetres on pieces that meet at corners gives some tolerance when cutting.
- Prepare your tools: You will need a tape measure, a mitre saw or mitre box, a cartridge gun and suitable mounting adhesive, a nail gun or fine-headed nails, filler and a filling knife.
- Check the surfaces: Make sure the fixing surface is even and free from dust and grease. Adhesive may not bond properly to an uneven or contaminated surface.
Step-by-Step Skirting Board Installation
- Cut the lengths: Use square, 90-degree cuts for straight ends. At square internal and external corners, join two pieces cut at 45 degrees. Measure twice before cutting.
- Dry-fit the pieces: Hold the cut lengths in position before fixing them and check that the joints meet neatly.
- Bond and secure: Apply mounting adhesive to the back of the board and press it against the wall. With timber flooring, or where additional support is needed, reinforce the fixing with fine-headed nails.
- Fill joints and gaps: Use acrylic filler for fine gaps at joints and along the wall edge. Once dry, lightly sand the filled areas.
- Finish the details: Touch up filled areas on raw or lacquered skirting with paint. For natural wood-veneer skirting, a touch-up pen suited to the veneer colour is recommended.
Fitting Lacquered and Natural Wood-Veneer Skirting Boards
Lacquered skirting is well suited to touching up after fitting: filled areas can be finished with paint in the matching RAL colour. With natural wood veneer, use a sharp saw blade to protect the surface and pay attention to the direction of the veneer at corner joints. If you are uncertain about the work, we recommend using an experienced installer.
Common Installation Mistakes
- Incorrect corner angles: Inaccurate mitre measurements can leave visible gaps.
- Not allowing for movement: Leave a small clearance between the skirting and flooring, particularly with timber floors, to accommodate movement caused by temperature and humidity changes.
- Too little adhesive: Insufficient adhesive, or applying it in the wrong places, can allow the board to come away from the wall over time.
- Skipping filling and touch-ups: Small unfilled joints can make the workmanship look unfinished at close range.
The Serin Ahşap Approach
We make every skirting profile to the agreed dimensions after sample approval. Our team can offer guidance on questions that arise during installation and, where available, put you in touch with installers we know in your area.
Models Featured in This Guide
Our frequently used lacquered profiles for project and wholesale orders include S-04 Chamfered Flat, S-05 Rounded-Edge Flat, S-07 Minimal Flat, S-10 Classic Moulded and S-16 Grooved Modern. For natural wood veneer, see A-05 Oak Veneer. Each page shows the profile and its height and thickness options, so you can compare the shapes before installation.
How long does skirting board installation take?
For a typical four-wall room, an experienced installer may complete the work in around 1–2 hours. The number of corners and the precision of the cuts affect the time required.
Can I install skirting boards myself?
Straight runs can be fitted with basic tools. For internal and external mitres and discreet joints, an experienced installer is likely to achieve a neater result.
Which adhesive should be used for installation?
Manufacturers commonly recommend mounting foam or a polymer-based mounting adhesive. Your installer should select a suitable product for the fixing surface and flooring conditions.
Let's Confirm Your Dimensions and Profile Before Installation
Samples and made-to-measure production are available. Contact us with your questions.
Message Us on WhatsApp Explore Our Products